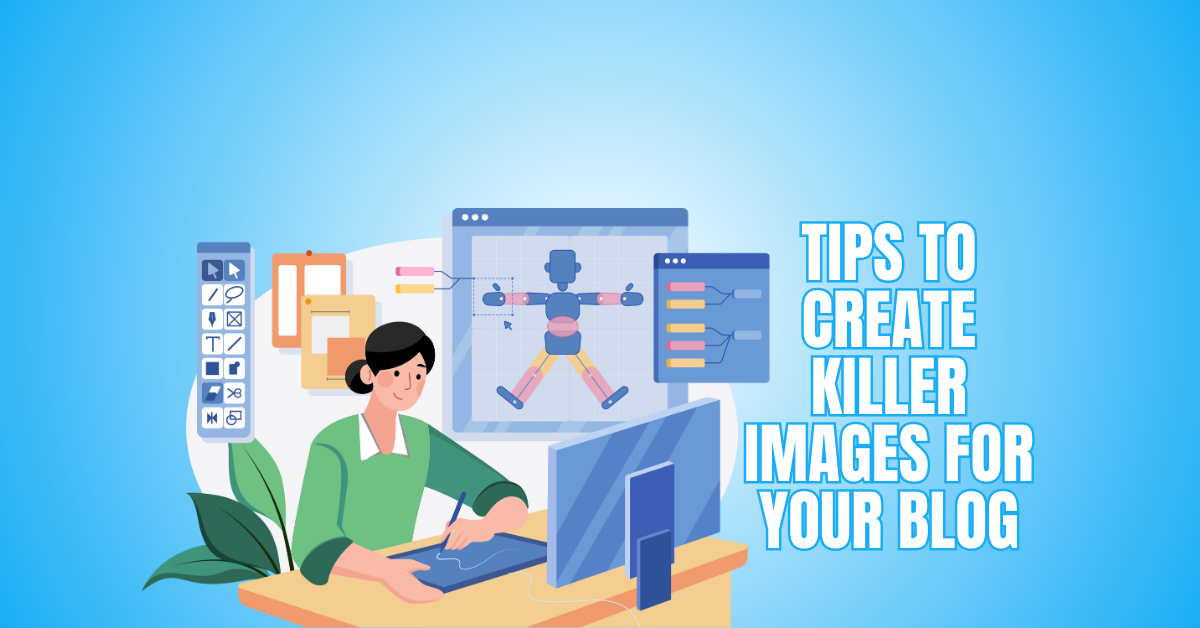
Best Tips To Create Killer Images For Your Blog
In today's digital world, where attention spans are short and visual content reigns supreme, creating captivating and visually appealing images for your blog is essential.
Well-crafted images enhance your blog's aesthetics and play a crucial role in attracting readers, conveying your message effectively, and increasing engagement.
Whether you're a seasoned blogger or just starting, this article will provide valuable tips to create killer images for your blog that grab attention, communicate your brand, and make your blog stand out.
From selecting high-quality visuals to optimizing for the web, let's dive into the key strategies that can take your blog images to the next level and leave a lasting impact on your audience.
The Importance Of Creating Killer Images For Your Blog
Creating killer images for your blog is paramount in today's visually-driven online landscape. Here are some reasons highlighting the significance of investing time and effort into creating captivating blog images:
1. Grabbing Attention
In a sea of online content, eye-catching images are vital for grabbing the attention of potential readers. Compelling visuals can pique curiosity and entice visitors to explore your blog further.
2. Enhancing Readability
Well-designed images break up lengthy text blocks and improve the overall readability of your blog. They provide visual breaks, making it easier for readers to digest information and follow the flow of your content.
3. Conveying Information Efficiently
Images have the power to communicate complex ideas quickly and effectively. They can summarize concepts, illustrate step-by-step processes, or present data in a visually appealing way, helping readers understand your message more easily.
4. Increasing Shareability
Engaging images are more likely to be shared across social media platforms, expanding your blog's reach. Visual content is more shareable, increasing exposure and the potential to attract new readers.
5. Enhancing Brand Recognition
Consistently using visually cohesive images helps establish and reinforce your blog's brand identity. You create a visual association that helps readers recognize and remember your blog by incorporating your logo, colour scheme, and unique design elements.
6. Improving User Experience
High-quality images enhance the user experience, making your blog visually appealing and professional. Well-optimized photos that load quickly on various devices ensure visitors can easily navigate your blog and enjoy a seamless browsing experience.
7. Increasing Engagement And Retention
Compelling visuals increase engagement and encourage readers to spend more time on your blog. When paired with persuasive content, killer images can evoke emotions, spark curiosity, and compel readers to explore your blog further, reducing bounce rates and increasing overall engagement metrics.
Wealthy Affiliate – Mini Review
If you’ve ever thought about turning your blog, passion, or niche into an online business,
Wealthy Affiliate (WA) is one of the most beginner-friendly platforms I’ve used.
It combines step-by-step training, website hosting, AI-powered tools,
keyword research, and an active community all in one place.
What I like most is that you can start free (no credit card needed), explore the platform,
test the tools, and connect with other entrepreneurs before upgrading.
WA isn’t a “get rich quick” scheme — success comes from consistent effort
and applying what you learn over time.
8. Supporting Search Engine Optimization (SEO)
Optimized images can boost your blog's SEO efforts. Using relevant alt tags, descriptive file names, and appropriate keywords in image metadata can help search engines understand your content better, leading to improved visibility in search results.
9. Standing Out In Social Media Feeds
When your blog posts are shared on social media platforms, captivating images increase the chances of stopping users' scrolling and capturing their attention.
Unique and attention-grabbing visuals can make your blog posts stand out in crowded social media feeds, driving more traffic to your website.
10. Building Emotional Connections
Powerful and visually compelling images can evoke emotions and deeply connect your audience. By selecting images that resonate with your readers' experiences, desires, or aspirations, you can establish a stronger emotional bond, fostering loyalty and encouraging repeat visits.
11. Increasing Social Media Visibility
Eye-catching blog images are highly shareable on social media platforms, increasing the likelihood of your content being discovered by a wider audience.
When readers share your visually appealing photos, they amplify the reach of your blog, driving more traffic and potentially attracting new followers or subscribers.
12. Encouraging Click-Throughs
Killer images can be effective click-through prompts or call-to-action elements within your blog. By strategically placing visually appealing buttons or overlays on your pictures, you can entice readers to take specific actions, such as subscribing to your newsletter, downloading a resource, or exploring related content.
13. Supporting Brand Storytelling
Images have the power to tell stories and convey the essence of your brand. By using carefully selected visuals that align with your brand's personality, values, and narrative, you can create a cohesive and memorable brand experience for your audience, fostering brand recognition and loyalty.
14. Enhancing Social Proof
Incorporating images showcasing positive reviews, testimonials, or user-generated content can enhance credibility. Seeing real people's experiences and interactions with your blog or products through images can instill trust and confidence in potential readers.
By recognizing the importance of creating killer images for your blog, you can leverage the visual power to engage, connect, and leave a lasting impression on your audience.
Incorporating visually captivating elements into your content strategy will enhance the overall user experience, strengthen your brand, and contribute to the long-term success of your blog.
Tips To Create Killer Images For Your Blog
Creating visually appealing and captivating images for your blog can significantly enhance its overall impact and engagement. Here are some tips to help you create killer images for your blog:

1. Create Compelling Compositions
Creating visually persuasive essays is key to capturing your audience's attention and making your images stand out. Paying attention to the arrangement, balance, and focal point of the elements within the image can greatly enhance its visual appeal.
One effective technique is the rule of thirds, which involves dividing the image into a grid of nine equal parts and placing the key elements along the grid lines or at their intersections.
This creates a sense of balance and visual interest. Leading lines are another powerful tool that guides the viewer's gaze and creates depth or movement within the image.
Utilizing natural or manufactured lines in the composition can help draw attention to your subject or lead the viewer's eye toward a specific point.
Symmetry can also create a visually pleasing effect by creating a sense of harmony and balance within the image.
Whether it's through reflections, patterns, or perfectly aligned elements, incorporating symmetry can add a touch of elegance and appeal.
Experimenting with these composition techniques and finding the right balance for your images will help you create compelling compositions that captivate your audience and visually engage your blog.

2. Choose Relevant Images
Consider your blog's theme and the emotions or mood. Select colours that complement your blog's aesthetic and resonate with your target audience.
Bold and vibrant colours convey energy and excitement, while muted or pastel tones evoke calm or sophistication.
Additionally, pay attention to colour contrast to make key elements stand out. Use contrasting colours to create visual impact and draw the viewer's attention to specific areas of the image.
For example, pairing a bright subject against a dark or neutral background can create a striking focal point.
Experiment with different colour combinations and explore the psychology of colour to communicate your intended message effectively.
By utilizing colour effectively, you can create visually captivating images that enhance the aesthetics of your blog and evoke the desired emotions and leave a lasting impression on your audience.

3. Incorporate Text And Typography
Incorporating text and typography into your blog images can add depth, context, and information to your visuals.
When counting text, it's crucial to ensure that it is clear and legible and enhances the overall message of your image.
Choose a font style that aligns with the tone and style of your blog while maintaining readability. Experiment with different font sizes to emphasize important words or phrases, ensuring they are easily visible.
Consider the placement of the text within the image, considering the composition and focal points. You can position the text in a way that complements the appearance, guides the viewer's eye, or creates a visual hierarchy.
Play with colour contrast to make the text stand out against the background, ensuring it remains easily readable.
It's crucial to balance the text and the other visual elements in the image, ensuring they harmonize to convey your intended message.
By incorporating text and typography effectively, you can create visually engaging and informative text overlays that enhance the impact and engagement of your blog images.
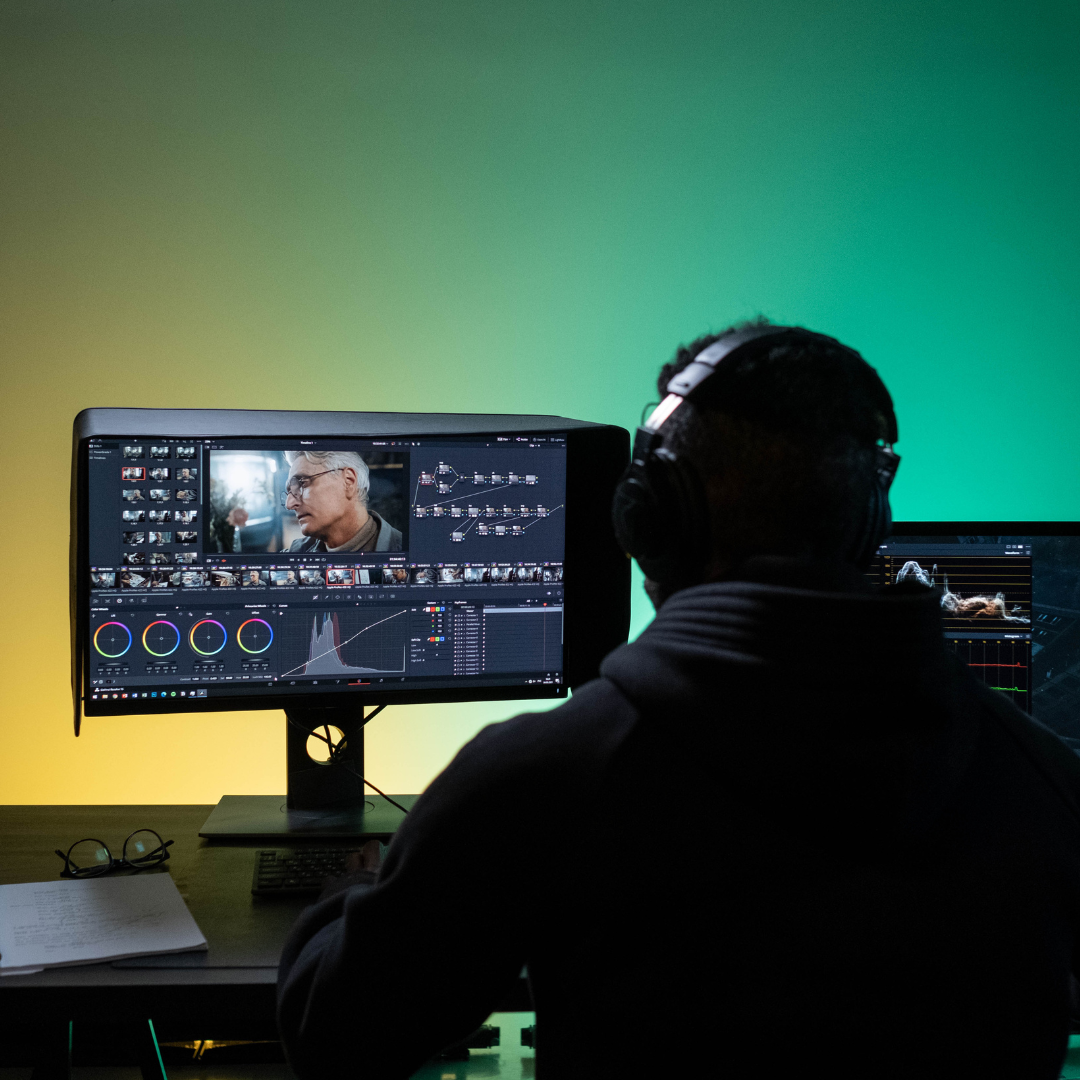
4. Enhance With Editing Tools
Enhancing your blog images with photo editing software or apps effectively elevates their quality and visual impact. These tools provide a range of editing options to refine and improve your pictures.
You can use them to adjust the brightness, contrast, and saturation levels to enhance the overall colour and tone of the picture. Fine-tuning the colours can make them more vibrant or muted, depending on the desired effect.
Additionally, you can crop or resize the image to improve composition or fit the dimensions of your blog post. Photo editing tools also offer features to sharpen the image, reduce noise, or remove imperfections.
By utilizing these editing tools, you can optimize the visual quality of your images, making them more visually appealing and engaging for your readers.
However, it's essential to strike a balance and avoid excessive editing that may result in an unnatural or over-processed appearance.
Remember to maintain the authenticity and integrity of the original image while making necessary adjustments to enhance its visual impact.

5. Maintain Brand Consistency
Maintaining brand consistency in your blog images is essential for establishing a strong and recognizable brand identity.
Consistency in colours, fonts, and visual elements helps to create a cohesive and unified visual experience for your readers.
Choose a colour palette that aligns with your blog's branding and use it consistently across your images. This helps to create a sense of familiarity and association with your brand.
Similarly, select a set of fonts that reflect your brand's personality and use them consistently in your image overlays or text elements. This reinforces your brand's visual identity and makes your images more recognizable.
Additionally, consider incorporating visual elements such as logos, icons, or patterns representing your brand and include them in your images when appropriate.
Consistency in branding strengthens your brand identity and helps your readers easily recognize and differentiate your content.
By maintaining brand consistency in your blog images, you build trust, enhance brand recognition, and create a cohesive visual presence that contributes to the overall success of your blog.

6. Test And Optimize
Testing and optimizing your blog images is crucial for ensuring their effectiveness and maximizing engagement with your audience.
Monitor the performance of your photos by analyzing key metrics such as click-through rates, shares, and comments.
Pay attention to the types of images that receive the most engagement and resonate with your audience. This can help you identify patterns and preferences that guide your future image-creation efforts.
Additionally, seek feedback from your audience through surveys or comments to understand their priorities and expectations regarding your images.
Learn from the results and use them to refine your image creation process. Experiment with different styles, formats, or topics to see what works best for your audience.
Test elements such as colour schemes, composition techniques, or text overlays to determine which combinations drive the highest engagement.
By continuously testing and optimizing your images, you can improve their effectiveness, capture your audience's attention, and create a more impactful visual experience for your blog readers.

7. Choose Relevant And Contextually Appropriate Images
Choosing relevant photos is crucial for creating a compelling and informative visual experience for your blog readers. When selecting images, consider the topic or theme of your blog post and choose visuals that directly relate to it.
The images should support and enhance the written content, providing valuable context and aiding in comprehending the presented information.
For example, if you're writing a blog post about healthy recipes, images of fresh ingredients, delicious meals, or cooking techniques can help readers visualize the concepts and make the content more engaging.
Ensure the selected images accurately represent the ideas or concepts discussed in the blog post, avoiding misleading or unrelated visuals.
Choosing relevant and contextually appropriate images provides visual interest and improves the overall understanding and connection with your written content, making it more engaging and impactful for your readers.

8. Focus On Uniqueness And Originality
Focusing on identity and creativity in your blog images is a powerful way to set yourself apart from the crowd and leave a lasting impression on your audience.
Rather than relying on overused stock photos that can make your blog appear generic, aim to create or source visuals with a distinct look or perspective.
Consider using your original photographs, illustrations, or graphics whenever possible, as they bring an authentic and personal touch to your blog.
If you need the means or resources to create your visuals, explore alternative sources such as free stock photo websites or collaborations with photographers or artists who align with your blog's style and vision.
Look for images with a unique composition, interesting angles, or unconventional subject matter. These elements can capture your audience's attention and make your blog memorable.
By prioritizing uniqueness and originality in your blog images, you showcase your creativity and individuality and create a more engaging and distinct visual experience for your readers.
9. Consider Branding Elements
Incorporating your blog's branding elements into your images is a powerful way to strengthen your brand identity and create a cohesive visual experience for your audience.
Consider incorporating your logo, colour palette, or typography into your images to reinforce your brand's visual identity.
Place your logo strategically in a corner or at the bottom of the image to increase brand recognition. Use your brand's designated colour palette to add consistency and familiarity to your visuals.
Whether through the background, text overlays, or graphic elements, incorporating your brand's colours helps establish a strong visual connection with your blog.
Additionally, consider using typography that aligns with your brand's style and personality. Use consistent fonts and font sizes in your image overlays or captions to maintain a cohesive look.
Incorporating these branding elements creates a visual association between your blog and your audience, increasing brand recognition and building trust and familiarity.

10. Experiment With Different Image Types
When creating killer images for your blog, thinking beyond traditional photographs and exploring other visuals to add variety and creativity is essential. Experiment with illustrations, graphics, or custom designs that align with your blog's style and content.
Photographs can bring a unique and artistic flair to your images, while pictures can help convey complex information or data in a visually appealing way.
Consider incorporating custom designs that reflect your brand's personality and resonate with your audience. Mixing and matching different visual elements can create eye-catching and memorable images that capture attention.
Be open to new styles, techniques, and formats to create diverse visuals that keep your blog fresh and engaging. Embrace different image types and create a distinctive visual identity that sets you apart from others in your niche.

Conclusion
In conclusion, creating killer images for your blog is a powerful way to elevate your content and engage your audience visually. The tips above can enhance your blog images' overall quality and impact.
By incorporating these tips into your image creation process, you can create killer images that enhance the visual appeal of your blog and engage and captivate your audience, leaving a lasting impression.
Remember, the power of a visually stunning and well-crafted image can elevate your blog's overall impact and success.
So, unleash your creativity, experiment with different techniques and styles, and enjoy the process of creating killer images that make your blog truly shine.
I trust you enjoyed this article on the Best Tips To Create Killer Images For Your Blog. Please stay tuned for more insightful blogs on affiliate marketing, online business, and working from anywhere in the world.
Take care!
— JeannetteZ
💬 Your Opinion Is Important To Me
Do you have thoughts, ideas, or questions? I’d love to hear from you. Please leave your comments below or email me directly at Jeannette@WorkFromAnywhereInTheWorld.com.
📚 More Work From Anywhere Reads
🚀 Ready to Build a Business You Can Run from Home
Or from Anywhere in the World?
Imagine creating income on your terms — from home, a cozy café, or wherever life takes you.
With the right tools, training, and community support, it’s entirely possible.
Start your own online business for free — no credit card needed.
Disclosure
This post may contain affiliate links. As an Amazon Associate and participant in other affiliate programs, I earn from qualifying purchases at no extra cost to you. Please read my full affiliate disclosure.