How to Use WordPress – An Easy To Follow Tutorial
How to Use WordPress – An Easy To Follow Tutorial
WordPress allows you to launch beautiful websites, personalize the layout to your liking, create the functionality you want, and deliver your content to the target audiences. But to start, first, you need to learn the WordPress basics.
WordPress is easy to learn, even for beginners. When I started my online business, I didn't even know what WordPress is, let alone how to create my own website. Now I own three websites, which I all started from scratch. So please follow this WordPress tutorial for beginners, and you will get to where I am now as well.

Setting Up And Managing A WordPress Website
In the current article, we focus on teaching you how to launch a hosted WordPress website.
Step #1: Installing WordPress
In this part of the WordPress tutorial, you will learn how to install WordPress using Bluehost. Bluehost is a “one-click install” option that you can utilize to get your site up and running in no time.
In the beginning, you need to buy a hosting plan and a domain name where you are going to set up WordPress software.
Choose Your Subscription Plan
Go to the Bluehost home page, press the “Get Started” button, chose the plan you want, and insert your domain name.
After you finished this part, you will get a confirmation email. Your Bluehost profile is ready.
Now, login and get access to all of the features with the plan you have chosen. A beneficial feature here is the “One-click installer for WordPress.” For this reason, you do not have to unpack WordPress files or set up the WordPress database. Instead, you can install WordPress and run your site within minutes.
Install WordPress
It is effortless to install WordPress due to its simple user interface. But first, log in to your Bluehost account.
- Log in to your account in the Bluehost cPanel.
- Select “Install WordPress” in the Website section.
- Click the “Install button.”
- Insert your domain name where you want to install WordPress.
- In case you want to change your user info, click on “advanced options.”
- Read the license and service agreements section, check the boxes, and proceed.
- Click the Install Now button.
If you are a beginner, we recommend you stick to the easy WordPress installation methods rather than the manual installation procedure.
When you are complete with the installation, you can log in to your WordPress dashboard.

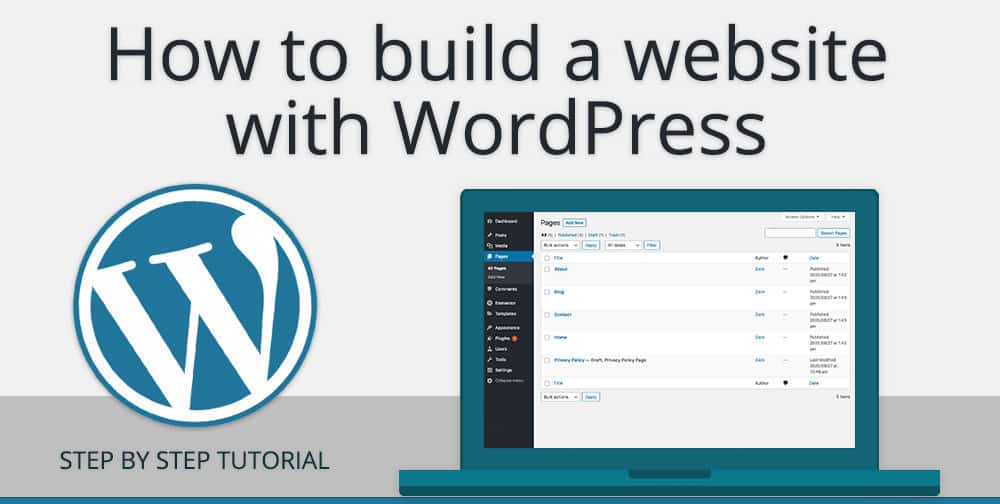
Step #2: Learning The WordPress Dashboard
Once you logged in, your WordPress dashboard will welcome you. The WordPress Dashboard gives you access to all the tools you need to build your website pages, insert content, and adjust your website functionality for the greatest user experience. Learning the dashboard is going to be your first step towards mastering WordPress.
The WordPress dashboard includes three main sections:
- Left-side menu – you can get access to all of the admin options here.
- Top toolbar – previewing your website, refreshing the dashboard, or logging out will be possible from here.
- Middle section – you can manage certain settings and content here, based on what admin option you choose in the left-side menu.
What are the admin options?
Dashboard
Dashboard, or the Dashboard Home Screen, gives you fast access to your website content. This includes five items by default:
- Welcome – the uppermost section you will see on the screen. While setting up your new website, you will access the links of the frequently used admin options.
- At a Glance – WordPress will inform you about the number of posts, pages, and comments you have on your site.
- Activity – you can see your scheduled posts here if any; recently published posts and the recent comments on your blog posts.
- Quick Draft – this widget enables you to publish a new blog post.
- WordPress Events and News – it features the recent news from the WordPress blog. In addition, you will be informed about local WordCamps and meetups here.

Posts
This option allows you to handle the content on your blog. Utilize it to insert new content and manage previously added content. For example, the following items are under the “Posts”:
- All Posts – you can see all articles in the dashboard. This option allows you to edit single or multiple posts.
- Add New – you can create a new blog post here.
- Categories – if your blog posts are in different categories, you will see a list of all categories here. On my website, I have categories like eCommerce, Tools, Online Business, etc.
- Tags – you can see your tags, manage them or add new ones. Tags are important so that people can find your different posts.
Media
WordPress CMS (or content management system) enables you to manage the media you have on your website. You can utilize images, videos, and audio files to create more appealing and engaging content. This option allows you to preview, add, edit, and delete media files. It contains two options:
- All Pages – to list and edit all pages of your website.
- Add New – to add new pages to your website.
Comments
When you start adding content to your blog, your readers will initiate communication with each other. The Comments option lets you check new comments and interact with your readership directly. You can also approve or deny comments if inappropriate.
Appearance
If you like to adjust your website appearance, this is a good option for you. You personalize your website from installing WordPress themes to changing your site’s background. In the appearance section, you will see the following items:
- Themes – search for WordPress themes and install them.
- Customize – get at customization options for your theme.
- Widgets – you can add widgets to your website.
- Menus – produce and add menus to your website.
- Background – here, you can set an image as your background or change the background colour.
- Theme Editor – edit theme code to adjust appearance or functionality. Be careful with this one. I never touch this, because I am not a programmer.
When you install a WordPress theme, additional options will appear under “Appearance” which are different from theme to theme.
Plugins
Plugins are a kind of mini web apps to increase the functionality of your website, modify its appearance, or obtain reports and analytics on your website's performance and usage statistics.
To control plugins, you can use the following items:
- Installed Plugins – check which plugins you have installed on your website. You can activate or deactivate plugins or even completely remove them from your website.
- Add New – you can install those additional plugins that you need for your website through this settings page.
- Plugin Editor – this is for more advanced users to directly change the code of the plugins you have on your website. Here again, I never touch this.
Users
The “Users” section enables you to administrate permissions for the present users, add and delete users. There are several user types in WordPress:
- Administrator – the administrator has permission for this user to do everything on a website. In my case, I am the administrator as the owner of my websites.
- Editor – the editor has the permission to edit website content, such as pages, comments, posts, tags, and categories.
- Author – this user can publish and edit articles.
- Contributor – this user can write and edit their posts but cannot publish them before getting approval.
- Subscriber – they can only view and read content and write comments.
Tools
Tools allow you to do some additional things. The various options under “Tools” are:
- Available tools – access to all of the available tools on your WordPress website.
- Import tool – enables you to import data from other CMSs (Content Management Systems).
- Export tool – export your current content and utilize it on a fresh WordPress installation.
- Site Health Status – shows critical information about your WordPress configuration & items that need your attention.
- Export Personal Data – when a user of your website requests its personal information, this tool will allow you to do that. By entering the user's username or email and asking them to verify the request.
- Erase Personal Data – this tool enables you to remove all of a user's personal data if they ask you to delete all their personal data from your website.
Settings
You can set up various options for your website in the WordPress settings. Settings are placed in the following categories:
- General – to set the site’s time zone, name, and so on.
- Writing – set the default categories here for your content.
- Reading – set the homepage of your site and the number of blog posts that will appear on it.
- Discussion – supervise the comments section on your blog.
- Media – customize the size of images you upload to your blog.
- Permalinks – customize the URL structure of your website.
- Privacy – you need to have a privacy policy page to follow national or international privacy laws. Here you can link your own privacy policy.
Step #3: Choosing A WordPress Theme
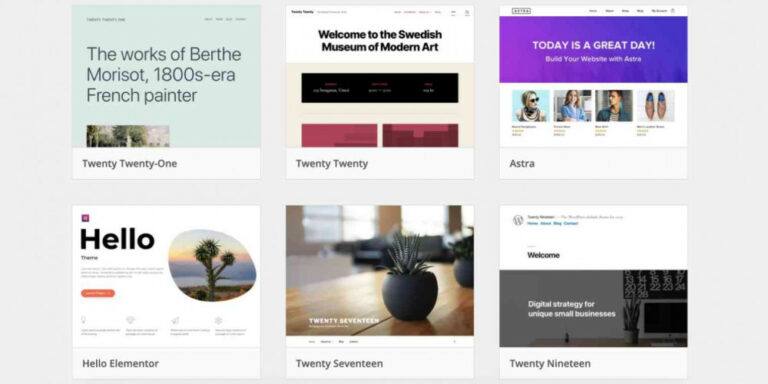
A WordPress theme determines the look of your website. You will be surprised at the numerous WordPress themes. However, the wide choice will make it hard for you to choose one. There are free and paid or premium themes in WordPress. Although free ones are attractive, they will not update regularly and not be maintained like a premium theme.
You can apply different filters on the theme through the online direction of looking for a theme. For example, you can check top-rated, best sellers, newest, trending themes, and so on. In addition, the “Live Preview” option enables you to test any theme you might like and want.
When I started off I used GeneratePress. It is free and it gets updated on a regular basis.
How To Use A WordPress Theme?
Before you start using a theme, you need to install it, so there are various ways to do it:
- Search it from the WordPress dashboard and then install.
- Buy the theme you want from a WordPress theme website, upload it, and install it through the WordPress dashboard.
- Upload and install the theme through FTP.

Step #4: Choosing WordPress Plugins
WordPress plugins will improve your website functionality, user experience and give you reports and analytics.
Choosing a WordPress plugin is like choosing a theme. Please be careful not to install too many plugins since they may slow your site down and spoil the users' experience.
Before shopping for plugins, make sure to define your needs and goals. Then, it helps you to get the plugins that give you the functionality you want. For example, if you get a premium (paid) WordPress theme, you should download the plugins required by that particular theme.
Generally, your web hosting company will recommend which plugins are essential for any website. I am part of the Wealthy Affiliate platform. They supply the most essential plugins preinstalled when you create a website.
Then you can choose some specific ones like WooCommerce if you are building an online store. One other one I personally feel is important is an SEO plugin. I just recently switched from AIOSEO (comes preinstalled with Wealthy Affiliate) to RankMath. They are both excellent plugins.

Install Plugins Through The WordPress Plugin Search
Going through the WordPress Plugin search is the easiest way to install free plugins.
- Click on Plugins and then Add New.
- In the “Search plugins…” field (top right), write a plugin name or functionality, for example, AIOSEO (All In One SEO).
- Find the plugin you want. You might want to check how many users have downloaded this plugin and when it was updated the last time. The most popular plugins usually show up at the beginning of your search.
- Click the Install Now button.
- Click the Activate button.
- Now your plugin is ready to use.
Upload And Install Plugins Manually
To install a paid or premium plugin on your WordPress site, you need to buy it and download the “plugin.zip” file. When you do that, you can upload and install it through the following procedure:
- Click Plugins and then Add New.
- Choose the Upload Plugin button on the top of the screen next to Add Plugins.
- Select Choose File and choose the “plugin.zip” file on your local storage.
- Click the Install Now button.
- Click Activate Plugin.
- The plugin is ready to use.
Step #5: Adding Content To WordPress
Pages and posts make the content on a WordPress website. Pages are the contents like About Us, Privacy Policy, Affiliate Disclaimer, or Contact page, whereas posts are part of the blog or website. So it is simple to add content to WordPress:
To Add A New Page, Follow This Procedure:
- First, log in to your WordPress dashboard as the administrator user.
- Click on Pages in the left-hand side menu and then select Add New.
- To add title and content to your website, use the Page Editor.
- Press the Publish button, and the page will appear on your WordPress website.
To Add A New Blog Posts, Follow This Procedure:
- Log in to the WordPress dashboard as the administrator user.
- Click on Posts and then Add New.
- To add post title, content, format, tag, and category, you should use the Post Editor.
- Click the Publish button, and the post will show up on your WordPress website.
Step #6: Making Additional Customizations To WordPress
It would be best if you learnt the basics first. Then, once you have the hang of the basics, you can customize some specifics. After that, creating additional customizations to WordPress is not difficult. In my opinion, it is more important to create quality content than to further customize your website.
Security
Cyber threats are a crucial concern and you need to take action toward protecting your website, content, and visitors. Try to assign unique usernames to your users and have a strong password policy. There are various ways to enhance the security of your site. I am part of the Wealthy Affiliate platform. They take care of all the security for me.
Speed
The loading speed of a WordPress website is considered an important SEO factor that affects user experience directly.
Backing up
Backing up is also a security measure. Try to learn how to back up your site with one of the WordPress backup plugins. These are easy to use, and some of them are free. Here again, I don't have to worry about this, because Wealthy Affiliate is taking care of it.
Conclusions
Now that you have read this WordPress tutorial, you are familiar with creating and launching a beautiful website in WordPress. Here we taught you the WordPress basics, including installation, customization, how to choose a theme and how to install plugins. Creating your own website with WordPress is easy and simple to use even for beginners.
I trust you enjoyed this article about How to Use WordPress – An Easy To Follow Tutorial. Please stay tuned for more articles to come. Take care!
JeannetteZ
Your Opinion Is Important To Me
Ideas? Thoughts? Questions? I would love to hear from you. Please leave me your questions, experiences, remarks, and/or suggestions about this article on How to Use WordPress – An Easy To Follow Tutorial in the comments section below. You can also reach me by email at Jeannette@WorkFromAnywhereInTheWorld.com.
You might also enjoy these blog posts:
How To Choose A Good Webhosting Provider – 11 Easy Steps