How To Install WordPress On HostGator
Looking to build a website without the hassle of coding? Learning how to install WordPress on HostGator is the perfect starting point.
HostGator offers a beginner-friendly platform with one-click WordPress installation, making it easy to launch your blog, portfolio, or business site.
In this step-by-step guide, you’ll discover how to get your WordPress site up and running on HostGator in just a few minutes.
Why Choose HostGator For WordPress?
HostGator is a well-liked option for WordPress hosting since it strikes a balance between cost and functionality. With a one-click WordPress installer, free SSL, and round-the-clock support, you get the tools and security needed to launch a professional website.
HostGator’s 99.9% uptime guarantee ensures your site stays accessible, while their user-friendly control panel simplifies management.
For beginners, the bundled features like a free domain name and automated backups reduce setup time and technical stress.
This makes HostGator especially ideal if you're new to web development and want to focus more on creating content than on managing server settings.
Beginner’s Guide: Installing WordPress On HostGator In Under 5 Minutes
Ready to launch your website, but not sure where to start? This beginner-friendly guide shows you how to install WordPress on HostGator in under 5 minutes—no tech experience needed!
1. Preparing For Installation
Before you begin, it's essential to have a few items ready. First, sign up for a hosting plan on HostGator—preferably Shared or WordPress Hosting. During signup, you can register a domain or use one you already own.
Next, locate the login credentials sent to your email. Having everything in place simplifies the WordPress installation and ensures you don’t hit roadblocks.
Preparation is essential because it saves time and helps avoid configuration mistakes. It also ensures that you’re set up with the right plan for your goals, like blogging or eCommerce.
2. Accessing The HostGator Customer Portal
To manage your hosting and install WordPress, you need to log into the HostGator Customer Portal. Visit portal.hostgator.com and log in using the email and password you received.
Once inside, you’ll find an intuitive dashboard that gives you access to domains, hosting packages, and billing. Knowing how to navigate this portal is crucial because it’s your control center for all site-related activities.
From renewing domains to managing SSL certificates, this portal will be your go-to interface. Familiarity with it now will save you confusion later when troubleshooting or updating your site.
3. Using The One-Click WordPress Installer
HostGator makes installing WordPress easy with its one-click installer tool, available directly in the customer portal. After logging in, go to the “Hosting” tab, click “Manage” under your hosting plan, then find the “Quick Links” section and choose “Install WordPress.”
This step is essential because it eliminates the need to download WordPress files or configure a database manually. The one-click installer ensures that everything is set up correctly and saves you significant time. For beginners, it’s the easiest and safest way to get your site online without worrying about backend configurations.
4. Filling Out The Installation Form
Once the MOJO Marketplace installer opens, you’ll need to provide a few details. Select your domain name and leave the directory field blank if you want to install WordPress on your main domain (like yoursite.com).
Next, enter your site name, admin username, admin email, and a strong password. After accepting the terms, click “Install Now.”This form is necessary to configure your WordPress environment with proper credentials and basic settings.
It ensures your admin access is secure and your site is uniquely identified. Accuracy here is key to avoiding login or configuration problems later.
5. Installation In Progress
After clicking “Install Now,” you’ll see a progress bar that shows the status of your installation. It usually just takes a few minutes to complete this process.
Once complete, you’ll get a confirmation screen showing your Admin URL (like yourdomain.com/wp-admin), username, and password. Be sure to save this information in a safe place.
Your login credentials, which are necessary to access your dashboard, are generated in this stage, which completes the WordPress setup.
It’s like getting the keys to your new website. Without this information, you won’t be able to manage your content or settings.
6. Logging Into Your WordPress Dashboard
Now it’s time to access your site. Open your browser and type in the Admin URL you received (e.g., yourdomain.com/wp-admin).
Use your username and password to log in. This takes you to the WordPress dashboard—a central hub where you can control everything about your site.
Logging in for the first time can be exciting and a little overwhelming, but it’s necessary to make changes, add pages, or install plugins.
Familiarizing yourself with the dashboard early on makes managing your website much more efficient and less intimidating.

7. Initial WordPress Setup
Once you're inside the dashboard, a few settings should be updated to personalize your site. Start by navigating to Settings > General to update your site title and tagline.
Then go to Posts and delete the default sample post. Visit Settings > Permalinks to change the URL structure to something user-friendly, like “Post Name.”
These initial tweaks are crucial because they establish your site's identity and improve user experience. Plus, having a clean slate and a logical URL structure is better for SEO and future content management.
8. Installing Essential Plugins
Plugins provide your WordPress website with new capabilities. To find necessities like
- Jetpack (for backups and security)
- WPForms (for creating contact forms)
- Yoast SEO (for search optimization)
- Elementor (for design)
Navigate to Plugins > Add New. After selecting “Install Now,” select “Activate” for each. Plugins are crucial because they extend functionality without needing to write code.
They can help you boost site performance, add analytics, improve SEO, and create engaging layouts. Think of plugins as building blocks that tailor your website to your goals and audience.
9. Choosing A WordPress Theme
Your theme determines the appearance and feel of your website. Click “Add New” under Appearance > Themes, then look among free options including Neve, Astra, and OceanWP.
To use the theme, click “Install” and then “Activate.” Additionally, if you bought a premium theme, you can upload it. Choosing the right theme is crucial because it affects user experience, mobile responsiveness, and site speed.
A well-designed theme enhances navigation and maintains user engagement in addition to making your website look good. Test a few options to find the best fit for your brand.
10. Creating Key Pages
Create the necessary pages for your website to get started. Select Pages > Add New and include pages such as Contact, About, Blog, and Home. Write a brief description or add media to each page, then click “Publish.”
These pages are the backbone of your site and help organize your content. They also give visitors necessary information and build credibility.
For instance, a contact page allows communication, while an about page builds trust. Having these pages in place is critical for user experience and makes your site look more professional and complete.
Wealthy Affiliate – Mini Review (2025)
If you’ve ever thought about turning your blog, passion, or niche into an online business,
Wealthy Affiliate (WA) is one of the most beginner-friendly platforms I’ve used.
It combines step-by-step training, website hosting, SEO research tools,
and an active community all in one place.
What I like most: you can start free (no credit card needed),
explore lessons, test the tools, and connect with other entrepreneurs
before upgrading. WA isn’t a “get rich quick” scheme — it’s a platform where success comes
from consistent effort and applying what you learn.
11. Customizing Your Menu
An organized menu helps users navigate your site easily. Go to Appearance > Menus, click “Create a new menu,” and name it.
Add the pages you've created, arrange them in a logical order, and set the display location to “Primary Menu.” Then, click “Save Menu.” This step is necessary because a clear menu structure improves usability and user satisfaction.
If visitors can’t find what they’re looking for, they’re likely to leave. A well-crafted menu also helps with SEO by linking important pages and enhancing site structure.
12. Setting Up A Static Homepage
WordPress automatically displays your most recent blog entries on the home page. To create a static homepage, go to Settings > Reading, choose “A static page,” and select your homepage and a separate blog page.
Click “Save Changes.” This setup is essential if you want your website to have a landing page or showcase content beyond just blog posts.
A static homepage offers more control over your site’s first impression and helps guide visitors to critical areas like services, products, or contact forms.
13. Enabling SSL On Your Site
SSL (Secure Sockets Layer) encrypts data between your website and visitors. To enable it, go to your HostGator dashboard, navigate to Hosting > Manage, then find SSL Management and enable SSL for your domain.
You can also install the Simple SSL plugin to handle redirection from HTTP to HTTPS. SSL is essential because it secures user data, builds trust, and boosts SEO rankings—sites without SSL show “Not Secure” warnings in browsers, which can deter visitors. Securing your site early ensures safe browsing and better credibility.
14. Final Checklist Before Launch
Before announcing your site, run through a launch checklist. Test all links and forms to ensure functionality. Examine how your website appears on tablets and smartphones.
Make sure your SSL is active and your domain shows “https://”. Submit your site to Google Search Console for indexing. This step is crucial to catch errors, confirm readiness, and improve visibility.
A pre-launch check avoids embarrassing issues, such as broken links or missing pages, and ensures your visitors have a smooth experience from day one.

Troubleshooting Common Issues
Even with HostGator’s simplified WordPress setup, users may face a few common hiccups. Here are the top issues and how to fix them:
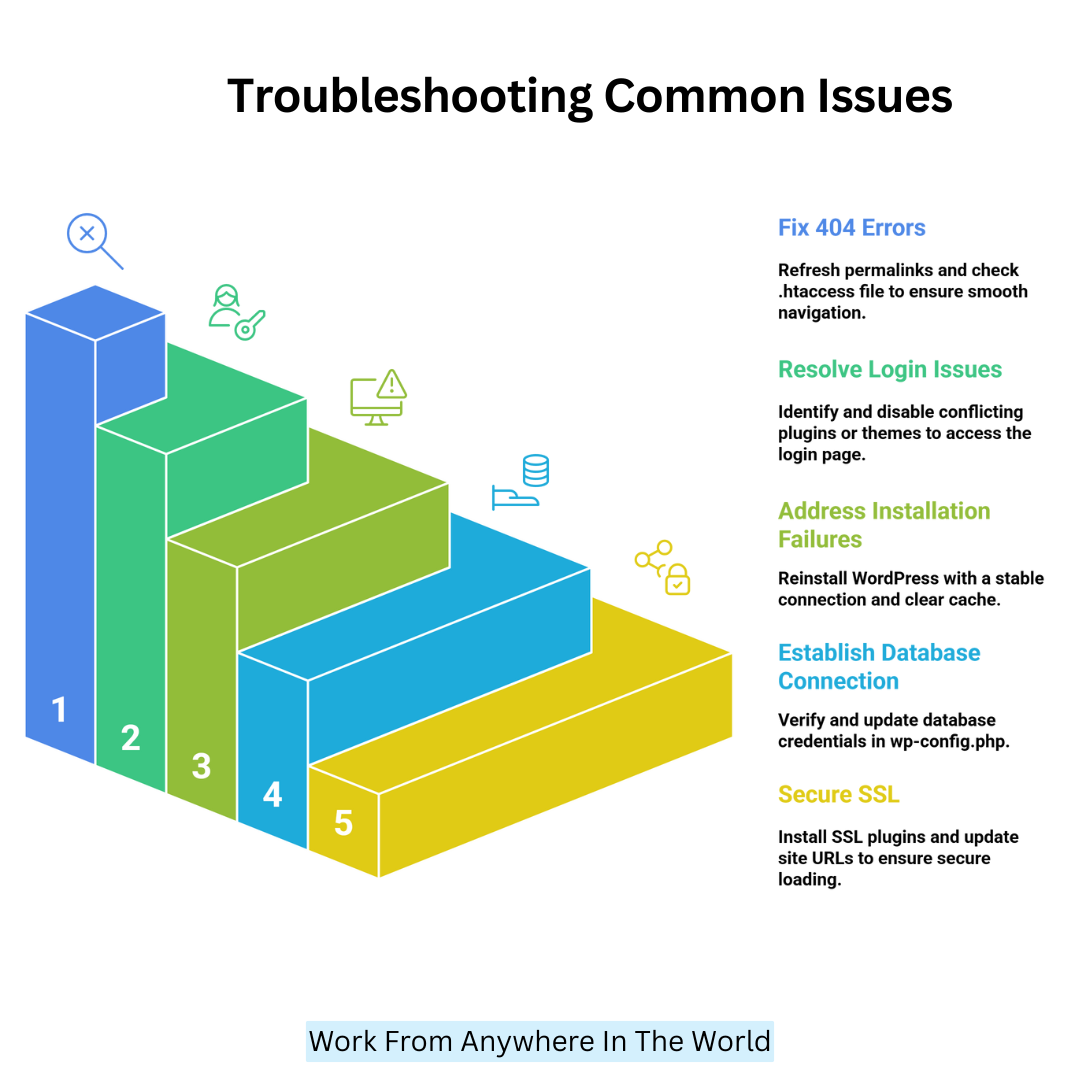
1. “404 Page Not Found” Errors
This error often appears when clicking links on your new WordPress site, especially after installation or theme setup: misconfigured permalinks or a missing .htaccess file cause it.
To remedy this, go to Settings > Permalinks in your WordPress dashboard, click Save Changes, and make no changes. This action refreshes the permalink structure and regenerates the .htaccess file.
If the issue persists, ensure the .htaccess file exists in your root directory and has correct permissions (usually 644). This simple step usually clears up 404 errors and provides smooth navigation throughout your site.
2. WordPress Login Page Not Loading
Sometimes, after installing WordPress, you may not be able to access the login page, or it loads blank. This issue is typically due to a plugin or theme conflict.
The error occurs when incompatible or corrupted code breaks the login page. To resolve it, access your HostGator file manager and go to wp-content. Try signing in again after renaming the plugins folder to something like plugins-old.
If it works, one of your plugins is the culprit. Rename the folder back and turn off plugins one by one to find the issue. Consider using default themes if the problem continues.
3. Installation Fails Or Times Out
If WordPress installation fails or hangs, the cause is usually a server timeout, slow connection, or resource limits. Shared hosting plans may hit temporary limitations, especially during peak traffic times.
Try reinstalling using HostGator’s QuickInstall or Softaculous after clearing your browser cache. You can also attempt the installation from another network.
If the issue persists, contact HostGator support to check for CPU or memory overuse. They may suggest upgrading your plan or temporarily lifting restrictions.
Ensuring you have a stable connection and a clean installation environment helps avoid timeouts and ensures WordPress installs successfully without hiccups.
4. Error Connecting To The Database
This error means WordPress can’t access the MySQL database, usually due to incorrect credentials or a corrupted database. The connection details are stored in the wp-config.php file.
If any of the values—database name, username, or password—are wrong, WordPress fails to connect. Check these settings via your HostGator cPanel.
Use MySQL Databases to confirm that your database exists and matches the configuration file. If unsure, create a new user and assign it to your database with full privileges. Update your wp-config.php with the new values. This step restores the connection and gets your site back online.
5. SSL Not Working Or Mixed Content Warning
After adding SSL, your site may still display as “Not Secure” or show a mixed content warning. This occurs when some site assets (images, scripts, etc.) still load over HTTP instead of HTTPS.
The issue usually happens when old URLs are hardcoded in your theme or content. To resolve this, install a plugin like Really Simple SSL, which automatically updates your links and forces HTTPS.
Also, go to Settings > General and confirm your WordPress Address and Site Address use https://. Clearing your browser cache afterward ensures that your site loads securely and without warnings.
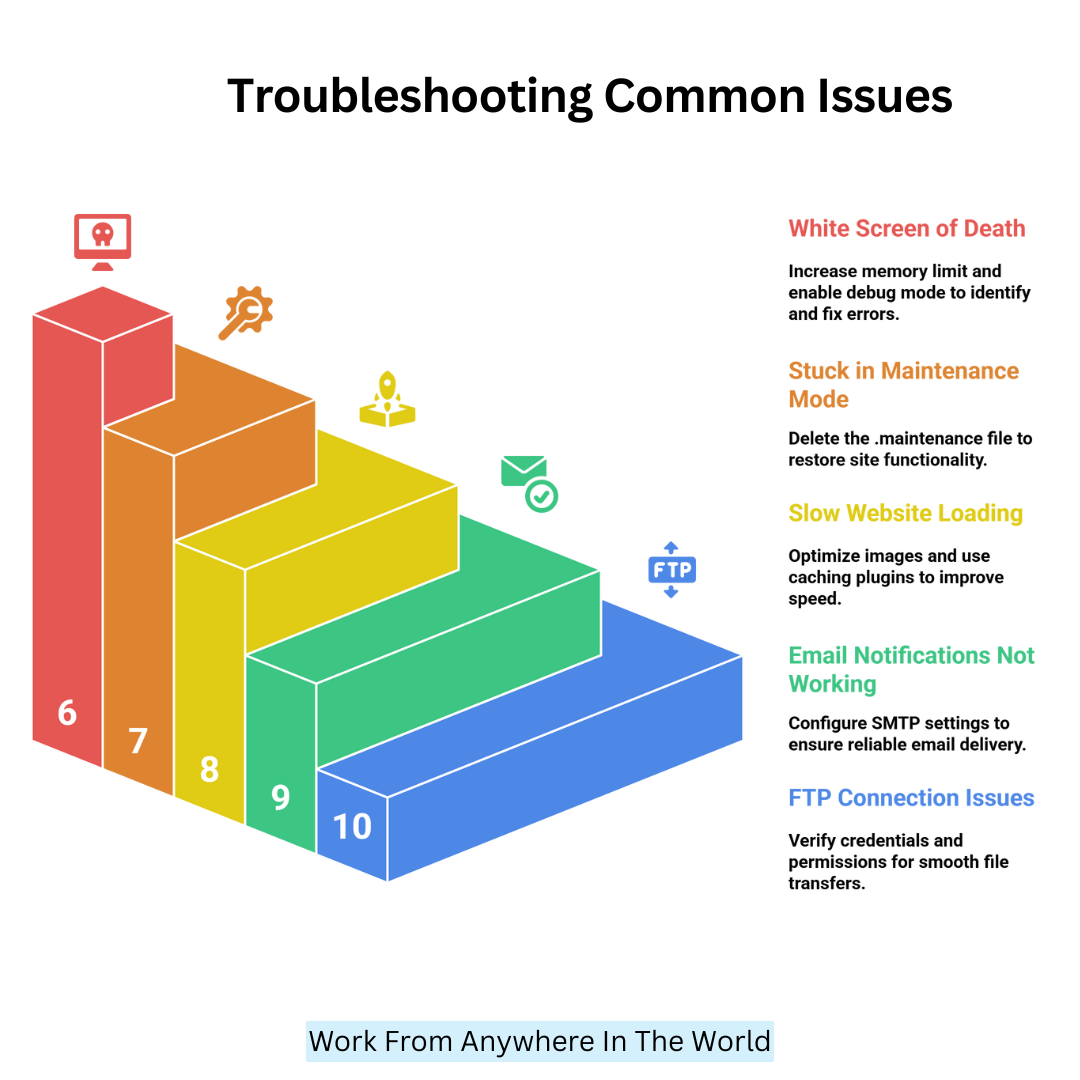
6. White Screen Of Death (WSOD)
The White Screen of Death appears when WordPress encounters a fatal PHP error, but doesn’t display an error message. Plugin conflicts, memory exhaustion, or coding errors in the theme cause it.
To fix it, first increase your site’s memory by editing the wp-config.php file and adding: define(‘WP_MEMORY_LIMIT', ‘256M');. If that doesn’t help, enable debug mode with define(‘WP_DEBUG', true); to reveal the error.
You can then identify and fix the faulty plugin or theme. Renaming the plugins or themes folder helps isolate the problem and bring your site back online.
7. Stuck In Maintenance Mode
When updating WordPress, plugins, or themes, the system briefly enters maintenance mode. If the process is interrupted, your site may get stuck showing “Briefly unavailable for scheduled maintenance.”
This happens if the maintenance file remains in your root directory. To fix it, log in to your HostGator file manager or use FTP, locate the file named .maintenance in your website’s root folder, and delete it.
Refresh your site to check if it’s back to normal. This issue is common during slow connections or incomplete updates, so be patient during future updates to avoid the same problem.
8. Slow Website Loading After Installation
A newly installed WordPress site can sometimes load slowly due to shared hosting limitations, unoptimized images, or heavy plugins.
HostGator’s shared plans allocate limited server resources, so high traffic or poorly coded themes/plugins can cause lag. To speed up your website, you can use a caching plugin like WP Super Cache or W3 Total Cache.
Optimize images before uploading with tools like TinyPNG. Also, deactivate or replace resource-heavy plugins with lightweight alternatives.
If performance problems continue, you might choose to upgrade your hosting plan. Faster loading improves user experience and SEO, so it’s vital to address speed problems early.
9. Email Notifications Not Working
If you don’t receive WordPress email alerts (like password resets or new user registrations), it’s often because HostGator’s mail server settings conflict with WordPress’s default PHP mail function.
This issue occurs when your server blocks or limits PHP mail for spam prevention. To fix this, install an SMTP plugin such as WP Mail SMTP. Configure it to use HostGator’s SMTP server or a third-party service like Gmail or SendGrid.
This method authenticates your emails, improving deliverability. Test email functionality after setup to confirm it’s working. Reliable emails are crucial for site management and user communication.
10. FTP Connection Issues During Manual Installation
When manually uploading WordPress files via FTP, users may face connection timeouts or permission denied errors. These issues occur due to incorrect FTP credentials, firewall blocks, or insufficient user permissions.
To solve this, verify your FTP username, password, and hostname in your HostGator control panel. Use an FTP client like FileZilla with passive mode enabled, which usually bypasses firewall restrictions.
Also, check that your files have correct permissions (folders: 755, files: 644). If problems persist, contact HostGator support to verify your account’s FTP access settings. Proper FTP setup ensures smooth manual installations and updates.
Conclusion
Installing WordPress on HostGator is simple, quick, and ideal for beginners ready to create their online presence. This guide on how to install WordPress on HostGator makes launching your website easy, even if you're a complete beginner.
The trustworthy hosting and easy setup of HostGator allow you to focus on building and growing your website rather than worrying about technical problems.
Follow these steps, and you’ll have a professional WordPress site live in no time. Begin your adventure now to open up countless opportunities for your achievement online.
I trust you enjoyed this article on How To Install WordPress On HostGator. Please stay tuned for more insightful blogs on affiliate marketing, online business, and working from anywhere in the world.
Take care!
— JeannetteZ
💬 Your Opinion Is Important To Me
Do you have thoughts, ideas, or questions? I’d love to hear from you. Please leave your comments below or email me directly at Jeannette@WorkFromAnywhereInTheWorld.com.
📚 More Work From Anywhere Reads
🚀 Ready to Build a Business You Can Run from Home
or from Anywhere in the World?
Imagine creating income on your terms — from home, a cozy café, or wherever life takes you.
With the right tools, training, and community support, it’s entirely possible.
Start your own online business for free — no credit card needed.
Disclosure
This post may contain affiliate links. As an Amazon Associate and participant in other affiliate programs, I earn from qualifying purchases at no extra cost to you. Please read my full affiliate disclosure.